Guide to Oiling Timber
A natural timber oil finish gives timber a lustre and depth to its appearance and protects the timber from staining and marking. It lets the timber remain more natural looking than a surface coating and enhances the timbers natural colour. Oil finishes will not flake or peel and provide great resistance to moisture while remaining easy to maintain.
Most natural timber oils are a blend of natural oils resins and waxes. The idea is for the oil to penetrate into the pores of the timber and not just sit on top. Finishes that sit on the surface of the timber, for example polyurethane, will wear and any damage to the film will usually mean the surface has to be sanded back and re finished. Timber that is finished in oil never really needs to be cut back and refinished, it can have extra coats applied and over time will develop a natural depth and beauty. Any marks or scratches do not remove the oil as it has soaked into the surface, additional oil can be applied to refresh these areas or if you want to remove marks you can just rework an area of the surface and not have to cut it back completely.
When preparing the surface of timber for an oil finish it is important not to sand too finely as this will tend to close the pores of the timber and prevent good penetration of the oil.
Most timber surfaces should be sanded back before you apply a natural timber oil. You will need to work with a coarse sandpaper such as an 80-grit sandpaper (extremely coarse) and progressively resand the surface with finer sandpapers until you are using a 180 grit sandpaper (fine) in preparation for the oil finish. When sanding you will rub the sandpaper in the same direction of the grain (lines) in the timber. Sanding should also be performed working along the grain.
Suggested progressions could be starting with 80- grit then using 120 grit (medium) then 150 grit (medium) and finally 180 grit (fine). The course sandpaper will remove stains and scratches on the timber and will allow you to achieve an even surface. However, in the process of removing the surface of the timber, coarse sandpaper will leave scratches that are as deep as the grit. When continuing to sand with finer sandpaper you will reduce the size and depth of scratches from the grit in the sandpaper until you are using a super fine grit where the scratches left will give the appearance of a smooth finish. Any dust should be removed at the end of the sanding process with a dry soft cotton cloth.
“Each piece of timber is unique, timber will always shrink and expand in reaction to variation in the surrounding moisture content in the air. Oil finishes are designed to cope with this movement and over the years with regular care the timber will develop a lovely character and depth.”
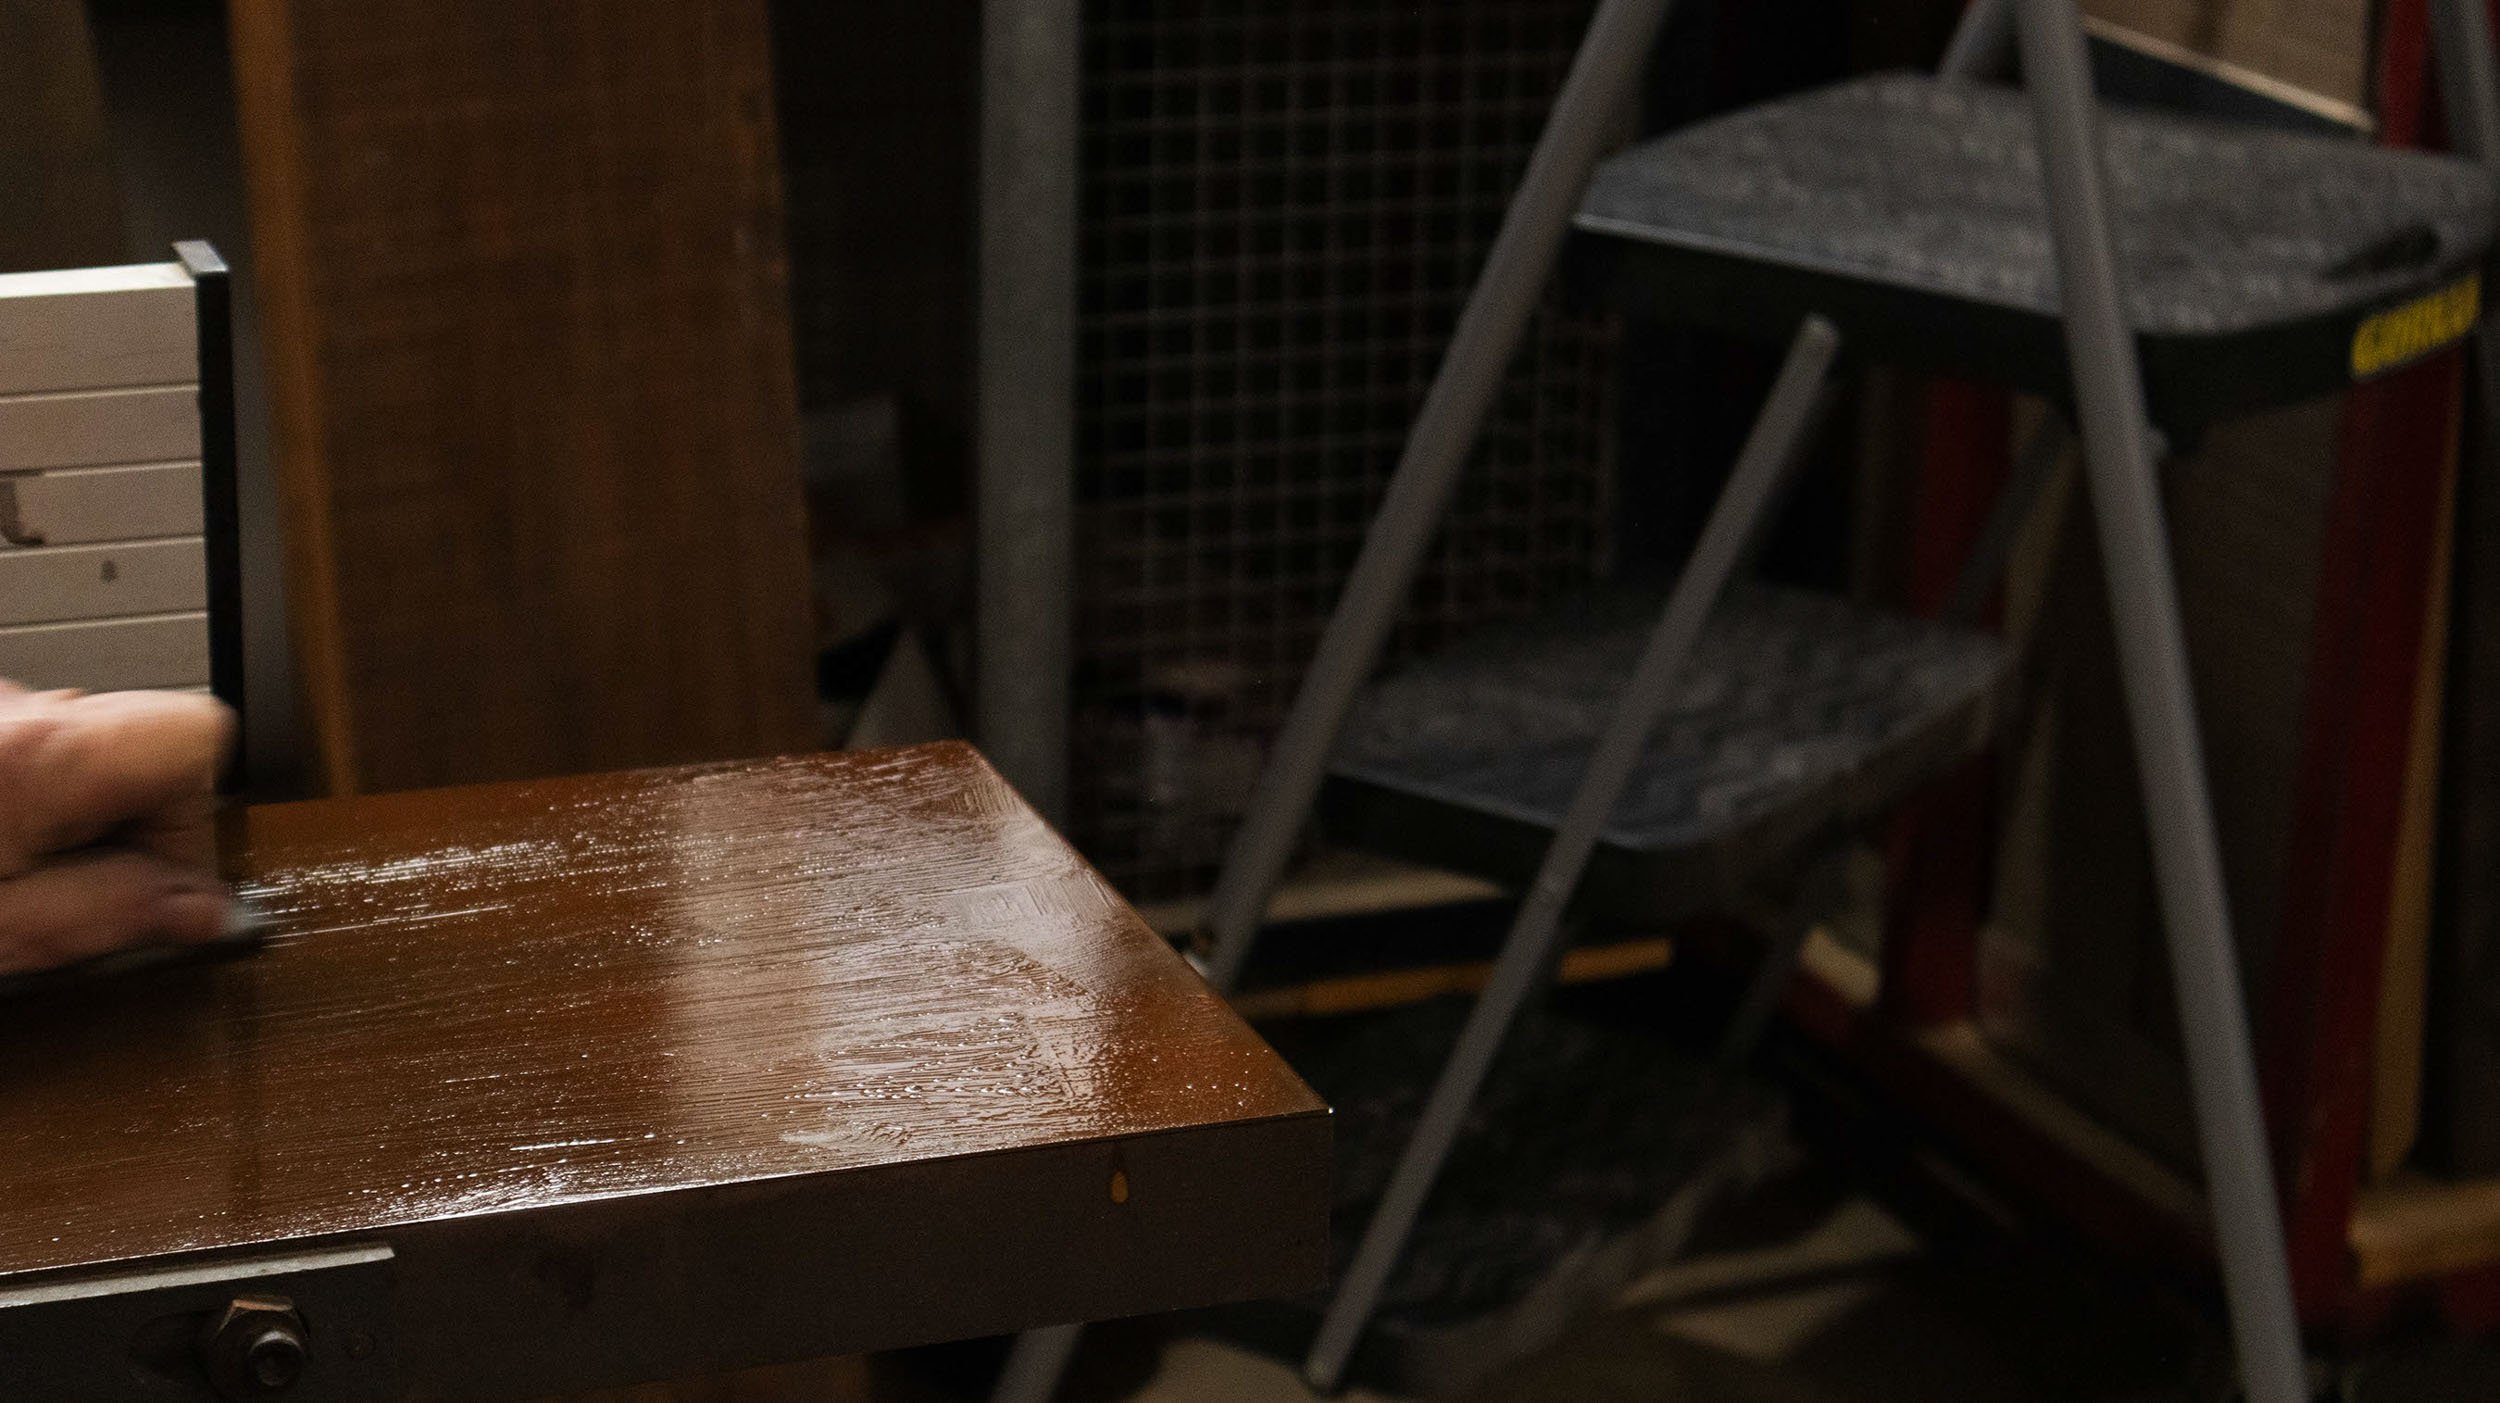
The first coat of oil can then be applied to the timber, I prefer applying with a soft cotton cloth well soaked in oil. The aim is to rub the oil into the surface and finish with a wet layer of oil on the surface, more porous timbers may soak up the oil quickly and leave a dry patch and oil should be reapplied until a wet finish is achieved. After 10 – 20 minutes wipe with a clean cotton cloth to remove any excess oil. This time will vary depending on weather and humidity. The oil should remove easily if it feels tacky it has dried too much and another wet coat should be applied. The surface should be touch dry after polishing with a clean cotton cloth. Most oils will then take 24 hours to harden, the surface can then be sanded back with a 240 grit sandpaper (very fine) to flatten out any raised timber grain and flatten the wax crystals, this will give a smooth surface finish and lustre to the timber.
The second coat is applied in the same way but it will need less oil and probably dry more quickly than the first, if the surface becomes tacky apply more oil to dissolve and leave a wet finish to the timber. Once dry the surface should be sanded with a 600 grit sandpaper (super fine).
For the third coat sanding should not be required the oil should be applied and polished off in the one process, for a higher sheen it can be polished with a soft lambswool pad after drying.
Once dry a polishing oil or wax can be applied to give the timber its final sheen. Maintain the surface as follows:
Regular Care
Do not place hot items directly on the surface of furniture, the general rule is if it’s too hot to hold in your hand, it is too hot for your timber surface.
Keep away from direct sun, heating source and weather.
Wipe and dust on a regular basis with clean dry soft cotton cloth
When required wipe over with a damp soft cotton cloth.
Silicone based products must be avoided.
Cleaning
Spot Cleaning:
Gently remove all spills immediately; always blot up spills quickly using absorbent paper or clean soft cotton cloth, clean as above.
Weekly / Fortnightly:
Clean with a pH neutral cleaner. Apply with spray bottle and wipe over with a clean soft cotton cloth (Most dishwashing liquids are pH neutral 1- 2 drops in 5 litres of water).
Monthly / Bimonthly:
Clean with a natural liquid wax cleaner. Apply with spray bottle and wipe over with a clean soft cotton cloth
Annually:
Clean with a pH neutral cleaner. Make sure surface is allowed to dry completely. Apply a very thin layer of a liquid timber wax polish. Use a soft cotton cloth to rub the product in vigorously with the direction of the timber grain Excess polish should be removed with a soft cotton cloth. Generally, after 20 – 30 minutes of drying time you can polish the surface with a soft cotton cloth. 1-2 hours after polishing, the surface is touch dry.
There is a broad range of oils and waxes available and these instruction should be read in conjunction with the manufacturer’s instructions.


